This is your new blog post. Click here and start typing, or drag in elements from the top bar.
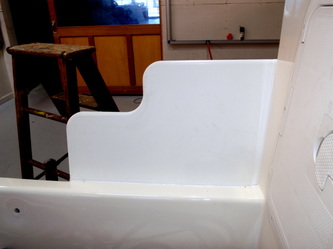
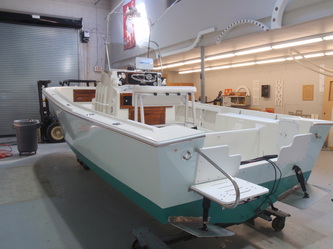
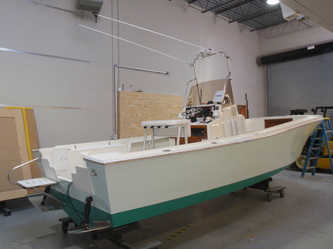
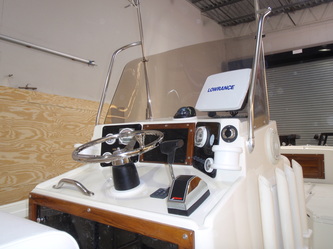
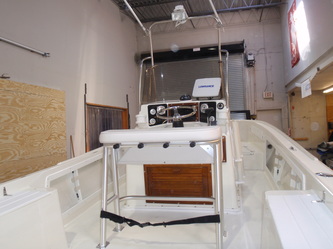
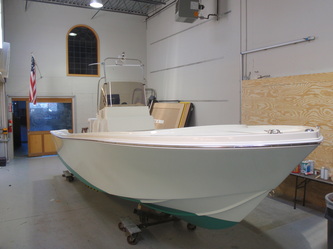
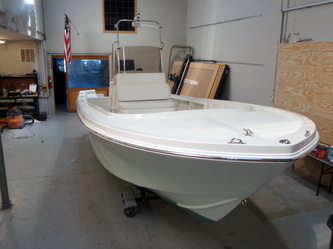
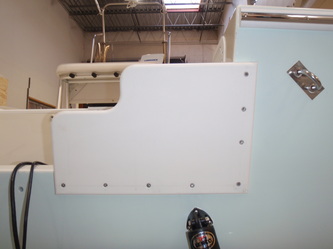
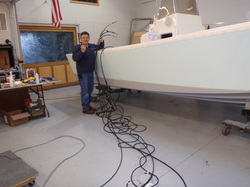 3/19/2011 Getting near the end of the project. Snaking all the control cables etc. 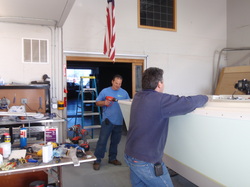 Frankie and George working on the rub rail installation. We used a rigid white rail with stainless insert. It looks real good. 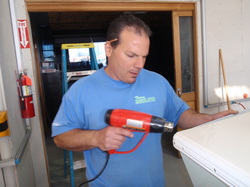 Frankie using the heat gun to bend the plastic rail around the transom corner. 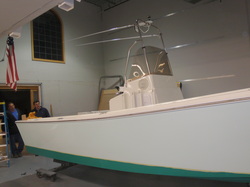 Rub rail on and it meets our satisfaction. Bottom paint now with one gray base indicator coat and one top coat. 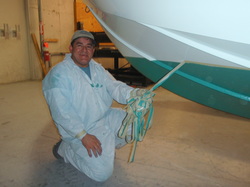 Carlos finished the last coat of Interlux Micron Extra and removed the masking tape to reveal the finished product. 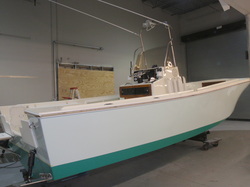 The end product of three months of hard work but worth every minute. 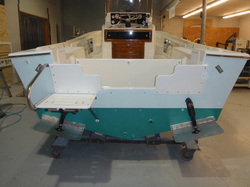 Stern view. Trim tabs are now on. We used big tabs like we did with my boat. They are 12 by 18 Lenco tabs and they make a huge difference in the ride of the boat. They keep the stern up, make it run more efficiently and give instant control of attitude. 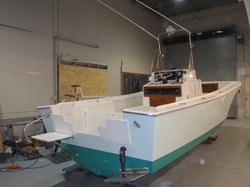 Another look at the finished product. It will now go to Burnett Marine Service in Bayshore, NY for 225 OptiMax installation. 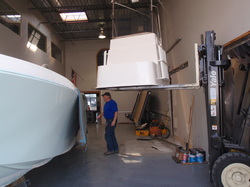 3/18/2011 We did a lot today. It began with lifting the console and getting it situated in the boat. We then screwed it down to the decks. We first screwed down the starboard base into the deck with #14 flat head screws. The console was then screwed through the starboard and into the deck. It is solid like a rock. 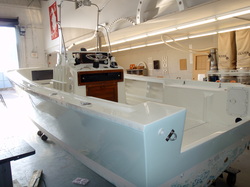 A good look at the boat with the console in place. We still have a lot of work to do to finish the project. Complete the wiring job, run all lines through rigging conduit tubes back to engine area, install trim tabs, paint the bottom, install the rest of the equipment and non-skid the topside. 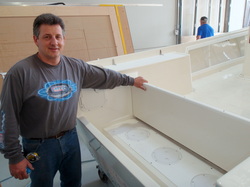 George admiring our work. A new starboard bilge hatch with three inspection hatches for easy access to pump and ball valve handles. The drop down transom door newly painted with starboard trim on top edge. 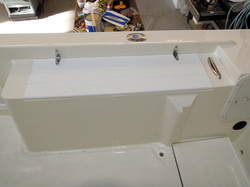 Fish/ice box covers out of 3/4 starboard with new stainless hinges. 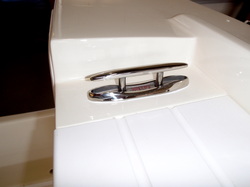 Sea Dog pop up cleat in the up position. They are spring loaded and all you have to do is push on the center of the cleat and they pop up. 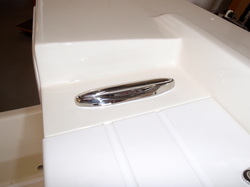 Sea Dog pop up cleat in the down position. 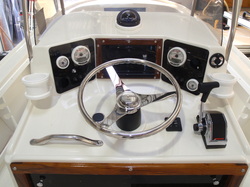 Console dash layout. Custom made drink holders, Screws on black hinge and black dash panels were painted black for cleaner look. Accessory power outlet on right side of dash panel. Trim tab controls close to throttle. Speed knob steering wheel and Ritchie compass. 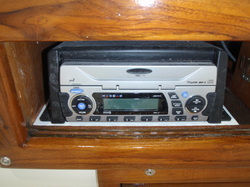 Jensen Marine Sirius ready 200 watt radio,CD player also in box below helm. 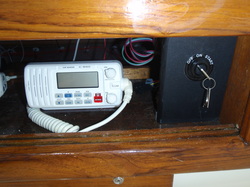 ICOM VHF radio and key switch location in the box below the helm. 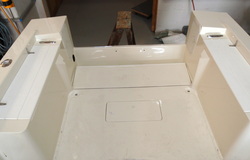 Transom view from the console. 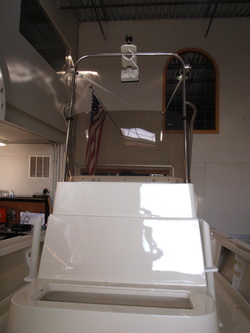 The console front view. Really trim and neat looking. No more cross bar directly in sight line. This is your new blog post. Click here and start typing, or drag in elements from the top bar.
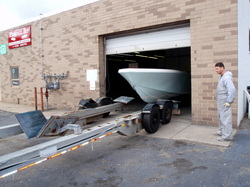 3/15/2011 Today was a big day for the project. We worked on the console some more this morning and have it just about done. At 3 pm Kurt and Steve from Great Bay Marine picked up the boat at Perfect Ten Auto after it received a beautiful paint job with Awl Grip Aqua Mist on the hull and Oyster White on the topside. What a beautiful job Matt did with this one! 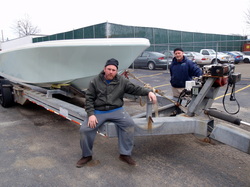 Steve and Kurt working the hydraulic trailer with boat hitched up and ready to go to the shop at FMT. 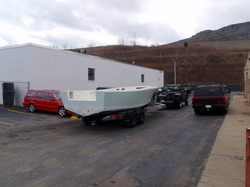 Heading out for the road and looking good. 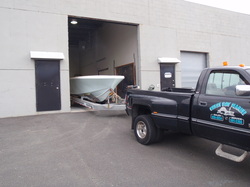 Backing the boat in at the shop. 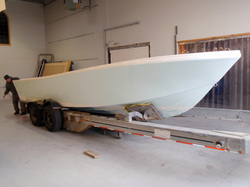 Setting the boat on the dollies. 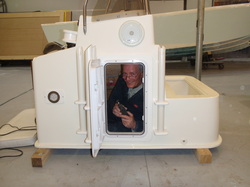 I did some of the last finishing touches under the console which was tough. I felt like a gopher in a hole. I finished running wires for the Sirius antenna connection and used the Dremel tool to cut off all the long screws protruding into the console area. 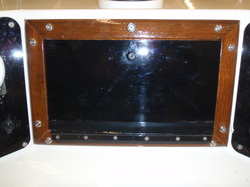 We ordered black piano hinge and got rid of the stainless steel hinge which just stuck out like a sore thumb. This really look good with the black Lexan. We are having the screw heads painted black and will install them when done. The fine details are what really make a "Classic Extreme Makeover" really look real good. It's all in the detail. 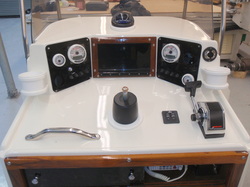 We still have a couple of Mercury Smart Craft gauges on backorder to fill out the dash but the console is almost complete and is the heart of the boat. 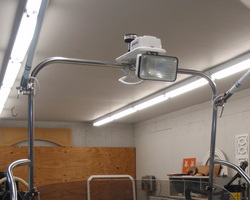 We devised a combination light/antenna mount for the overhead rail. It incorporated an all around white light, Sirius antenna and spreader light. It is nice and neat. Notice all wires were snaked through the tubing. Also notice a big plus, no cross bar at eye level. A beautiful unobstructed view from the helm. 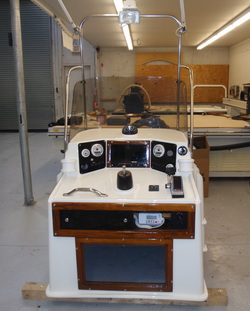 The console ready to go. 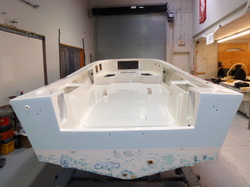 What a paint job. Wait till you see the final product with all the nice stainless hardware and console in place and a 225 Mercury OptiMax engine sitting on the transom. This is one hot boat! Captain Al Lorenzetti This is your new blog post. Click here and start typing, or drag in elements from the top bar.
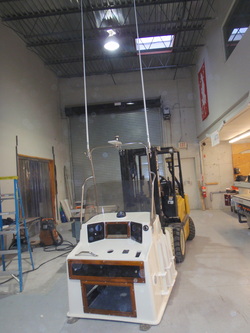 3/11 Today we installed the handrail on the console and antennas. One antenna for the VHF and one for the AM/FM radio. 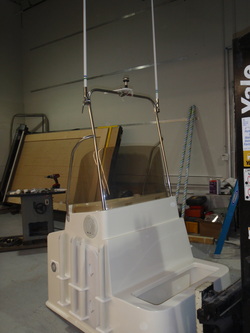 We will be tying in the handrail to the windshield for better vertical stability. We are going to polish the windshield to remove some scratches and then get busy with mounting the steering helm and binnacle control for the Mercury OptiMax that will be installed by Gene at Burnett Marine Service. |
Capt. Al LorenzettiFishing and hunting for 50 years and now in the boat restoration business. Lots of fun. Archives
April 2011
|

 RSS Feed